
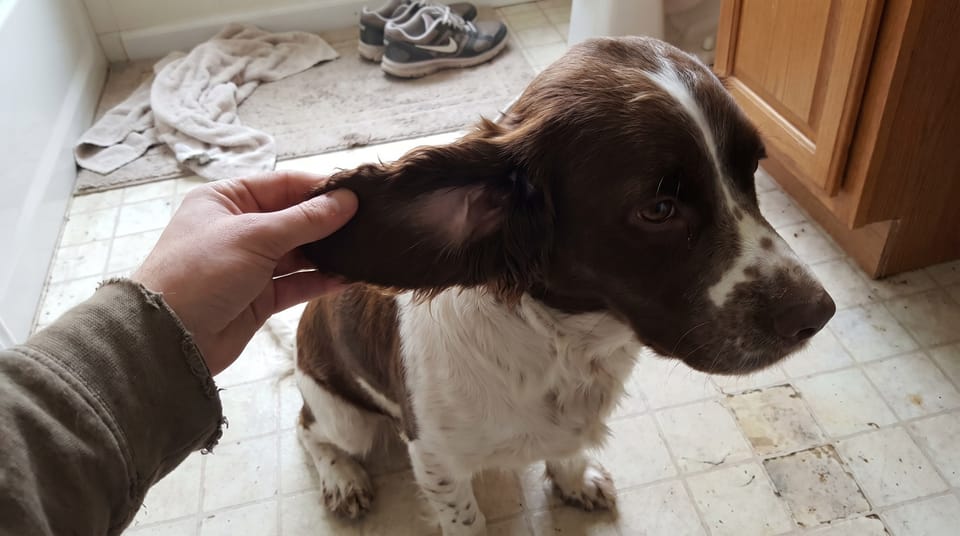
Your dog leans against your knee, and you lift a floppy ear while giving a scratch. There is a little wax near the opening. Does that mean it is time for a cleaning? Not necessarily. If the ear looks comfortable, has no strong smell, and is not bothering your dog, leaving it alone may be the kindest choice.
You do not need to make a clean ear cleaner. The useful habit is checking ears, so you notice when something changes. Cleaning belongs on the list only when there is a reason, not simply because it is bath day.
Start with a look, not a bottle
Once a week, spend about 30 seconds checking each ear. Lift the flap gently, look at the skin and visible opening, and notice any smell. You are learning what is usual for your dog, including the ear's natural skin color and small amount of wax.
A little light wax can be normal. You do not need to chase every trace. If there is a small dirty patch on the accessible ear flap, a gentle surface wipe may be enough. That is different from putting liquid into the ear canal.
Before cleaning inside the ear, have your vet show you what your dog's ears need and which dog ear cleaner is appropriate. Some dogs need occasional cleaning; others rarely need it. Floppy ears alone do not set the schedule.
If you notice a new strong smell, repeated head shaking, scratching, redness, swelling, discharge, or tenderness, skip the cleaning and contact your vet. Cleaning first can hurt and may remove material the vet needs to examine. An ear that suddenly bothers your dog deserves attention even if you cannot see anything unusual.
That gives you a simple choice: leave a comfortable, clean ear alone, gently wipe minor surface dirt, or ask your vet about an uncomfortable or changed ear.
Set up for a short, easy session
Choose a quiet moment when your dog is settled. A bathroom floor is handy, but put down a nonslip mat or towel. Slippery footing makes it harder for your dog to feel secure when you reach toward an ear.
Have everything within reach before you start:
- The dog ear cleaner your vet recommended, if a canal cleaning is needed.
- Soft cotton pads or gauze for wiping visible surfaces.
- A towel for your lap and any splashes.
- A few small treats your dog enjoys.
Leave cotton swabs out of the setup. They can push debris farther inside, and a sudden movement can cause injury. Skip homemade mixtures, alcohol, peroxide, and household soaps. Do not reach for tweezers or try to pull hair from inside the ear.
Allow about five minutes, including breaks. You may finish sooner, or you may only practice lifting an ear. Either outcome is fine. There is no benefit in finishing both ears while your dog becomes increasingly worried.
Clean only as far as you can see
For a little surface dirt, lightly moisten a cotton pad with the recommended cleaner. Gently wipe the accessible inner flap without dripping liquid down the canal. Stop if the skin looks irritated or your dog seems uncomfortable.
If your vet has recommended cleaning the canal and shown you how, follow that demonstration and the product directions. Bottle instructions vary, so there is no single spoonful or number of drops that fits every cleaner.
- Let your dog see your hands. Lift the ear flap gently and offer a treat.
- Apply the cleaner as directed, keeping the nozzle outside the canal and away from the skin. Do not insert it.
- If your dog remains comfortable, gently massage the base of the ear for the time your vet or the label recommends.
- Let go and allow your dog to shake. Hold the towel nearby without covering or gripping the head.
- Wipe away loosened material from the flap and visible opening with a fresh pad. Keep your finger and the pad outside the canal.
- Use fresh supplies for the other ear, and reward your dog before deciding whether to continue.
Do not keep adding cleaner until every pad comes away spotless. Repeated flushing and rubbing can leave an ear sore. If debris remains deeper inside, leave it for your vet to assess.
When your dog says this is too much
The hard part is often the wet sensation or the sound of the bottle. Your dog may duck, freeze, turn away, or try to leave. Pause at those early signs instead of tightening your hold.
If the ears seem comfortable but handling is unfamiliar, practice without cleaner. Touch the ear briefly, give a treat, and stop. Try two or three repetitions over a minute, then leave it until another day. Build toward lifting the flap only while your dog stays relaxed.
If your dog cries, snaps, or suddenly guards an ear, stop the session and call your vet. Do not assume it is simply dislike of grooming. Ask for help if you cannot clean safely without restraining your dog firmly.
Know when the next step is a vet visit
A brief shake immediately after cleaner goes in is expected. Shaking that continues, returns later, or happens before cleaning is a reason to contact your vet, especially with odor or scratching.
Arrange a prompt visit for new discharge, bleeding, swelling, obvious pain, or a strong smell. Seek urgent veterinary care if your dog develops a head tilt, loses balance, or has trouble walking. Do not put more liquid into an ear that has become painful.
After an uneventful cleaning, jot down the date and what you noticed. If the ear quickly gets dirty again, share that with your vet instead of shortening the cleaning schedule yourself.